Since you asked, we've promised to discuss equipment decisions, tips and tricks that we do. More are coming, but if you want to see something specific just ask us.
My normal chest rig is something I sewed up myself a few years back. It's got two problems for CWG events:
- It is for 5.56 mags only
- It is starting to wear out.
Not to mention it's a mix of khaki and UCP. So I put together a
battle belt rig for Swift Fox 16, and it worked okay. But I've been on the lookout for a replacement for both.
It was especially hard to use with one arm in a sling.
And over the past few months have concluded that doesn't exist. Universal rigs sacrifice too much to carry all types of mags. So, over time I'll be looking for two rigs, and eventually will do things like duplicate all the accessories, so I don't have to reset from one to the other, but both are just on hangars, waiting to go.
If I didn't change between blanks, live and airsoft, they'd be on the hangars loaded with mags, even.
Hellcats of the Ozarks
On the way to the work weekend for Least Weasel, we hit up a few surplus stores, and long after I got bored with the fact nothing interesting was there, I stumbled across an old SoTech Hellcat for a steal. Actually, it's a full
MACHS, but that's just a Hellcat MkII with some med pouches. I love surplus store finds like this. It's not all used up, but seems to have been set up, maybe used in the schoolhouse, and then abandoned. Almost unused. And the front split was entirely unused. People do this sometimes; they like the front-center to be a pouch, or like over-the top rigs so bridge a center-open rig with a pouch. Works for me, as I like split front rigs, and get that primary wear point, unused.
Here it is pretty much finished off. Keep reading to find out how and why I got it there.
While the MACHS is pretty recent (and current I think) issue, the Hellcat is an old school design. Okay, not ALICE old, but it was the cool guy thing around 2004. So why the hell do I want something like that? Well... because of the way the world went, with all plate carriers and load on the armor. Aside from CWG banning that, I personally agree with why, and want a rig I can use without armor.
I also like front opening rigs, as they are easier to get on and off, and can be opened up for comfort in prone and elsewhere like a traditional belt load. And, I like that the shoulder straps are wide, flat webbing. Padding gets soaked, gets full of thorns, and more. Tired of those.
To a certain degree, "lightweight" is a state of mind. If you go look at OIF I photos, you'll see people with rigs like this, stacked with mags and other stuff, looking all Michelin Man. For that intense fight, when some people legitimately seemed to need 14 mags as basic load, that worked. But me, I am going to restrain myself, and have lots of empty MOLLE webbing.
Which is a key reason I like this style of rig. It has integral mag pouches, and some other organizer pockets sewn in. So with no pouches it does a fair bit of work. And that also means it's not particularly heavy, even compared to modern rigs. I suspect a Fight Light 2-Piece MAV (a rig I often suggest to people) with Helium Whisper mag pouches would be lighter than my Hellcat slick, but not by a lot, and there's still the same bulk, or more.
Setting up:
So, this is my 5.56 rig, and aside from that being my primary actual shooting LBE, I'll (almost certainly) be Kitoy for the next Op, so spent the day working as little as possible, and configured it.
That means first I have to pull out my last two rigs, and make stuff to optimize it.
Almost first, you must adjust to fit you. Seriously, do this, a lot. Get helpers to find gaps and floppy webbing. Most LBE and armor carriers I see are not fitted right; yours probably isn't right, either.
Color, Name, Glow
I like khaki as a color of accessories, but this is pretty sandy, so a bit light. You'll see later I put green pouches on, which helps, but I still wanted it a slightly different color. Dye is a bit of a slog, and I don't necessarily want it OD green, either. So, I did the next best, dusting.
The shoulder strap nearest the paint can is duster. The other is not. Compare. It's subtle, but it helps.
Spray paint can be used on fabric in very light... layers. I hesitate to call it a coat, as you want about 1/5th of a normal coat. Further away than usual, tap the nozzle, while moving to get even coverage. 2-3 times is usually enough to change the color just a bit. It is subtle, so do it by sections or keep a pouch or something to compare to, so you don't go overboard.
Once that's done, the next thing I do is label, and add cateyes. In this case, there's velcro, so it's mostly just a matter of sticking them on. I am out of green name tape, so just used an old UCP one here but will replace that eventually. I also had no cateyes suitable for the space. So I made them.
Adhesive glow tape is readily available. Go get some adhesive velcro, cut the cateyes to size (it's more expensive) and a larger piece of hook side velcro. Peel the backing off both, and stick them together. Cut to size. Get some Teflon coated scissors or use something you don't mind gooping up.
No velcro on your rig? Write your name in sharpie or something, and glue on the glow tape. Adhesive won't work, but if you remove the adhesive backing (rub it till it peels up, take it off) and use some good contact cement, they will stick forever. The plastic doesn't sew well, so I always glue them on.

Wire and Tube
Lots of stuff we want to add to our rigs is not simple clip on stuff. It isn't a pouch or other accessory designed to go on, or to go on permanently. Without resorting to wire ties and speed tape (please! no tape!) there's a lot you can do.
In the center,
Grimlocs are great. A little plastic carabiner, that loops through webbing. DO loop the slop through the MOLLE webbing, so it is oriented right. I discuss how I use these a little more later.
Top left, clockwise:
- D-Ring adapters. I actually cannot find the ones I have so the link is different, but the principle is the same. Turn D ring sideways, pass through MOLLE, and you have a loop to hang stuff on. I use them for all sorts of odd stuff, like upside down to make battlebelts hang off shoulder straps.
- Velcro onewrap ties. They make a variety of these, and you probably have some on a laptop charger or something. I use these thin ones because they are dirt cheap and thin. They don't stick as well, and aren't super re-usable, but for semi-permanent modifications are better as they lay almost totally flat, pass through things, and you don't mind ruining them.
- Velcro onewrap tape. Onewrap is just velcro with hook one side, loop on the other. You can buy it as roll of straight webbing, also. Useful to velcro things to other things, wrap around a cable or item to make it stick to velcro, and more.
- UV keychain light. Good to carry to charge up cateyes, compasses, etc. I have it in a little sock of tubular webbing, and it hangs by gutted paracord. But it's here because hard things like this can make noise. Instead, cover them in fabric like that to keep them quiet. When hanging the light is way back inside the cover.
- Annex Clip. Temporary, quick detach MOLLE clips. Want a pouch to be super easy to remove? Use these instead. Note they mostly sell a sew-on version where it's permanently on one pouch. You can't use that unless you sew your own gear. Get the temporary one.
Today I'll show you how I attached my hydro tube. I use an old school SDS carrier as it's square, so has no wasted space or bulk in the hydro pocket, but is a little insulated. The extra tubing is... complex to explain. Ask me later.
I passed it through the proper port, then ran along the side of the shoulder strap. My old rig had a pass through along the shoulder strap, but that gets tedious and can gather junk, water, etc. This is exposed, but better overall I hope.
I used the OneWrap ties to attach it. Note that I did not tighten them up too hard, so it wouldn't bunch up. the velcro means it grabs the webbing a bit, so it can lay flat. It works.
Note that I also have a funny clip down there, too. That's... something I found. But it works. Keep spare plastic bits you find on broken packs and rigs. This one has a loop in the back side, which the OneWrap tie is attached to. Then since it's so thin, I ran that under the webbing, pulled the clip into it and kept goes around. I ran out of tie so... attached another to extend it, like doubling the length of a wire tie. Works great.
Radio cables would be run much the same, but since I am not a dedicated radio guy anymore, I didn't actually put any of my PTTs on. However, I did make sure to leave plenty of the shoulder MOLLE for them. That's why I anchored the hydro tube where I did. Do plan ahead.
I am using the map pockets behind the mag pouches for my notebook, compass, pens and some lightsticks. Sadly, no organizers for pens, so I need to come up with something for that. There's enough velcro, I am thinking of making some little elastic-on-velcro pads just for that. Could work.
Note the Grimlocs on the front. Dummy cords go through there, so you can remove the item to use it if needed. My compass is the only thing corded on now. I specifically do not do that with the pace beads as they have a tendency for me to get lost anyway, so I have to permanently anchor them to a piece of webbing. Note that I have things like this hanging below the mag pouches, so they cannot get tangled in them.
Pouches
Okay, I am not running this slick. If I was just a gunner, I might, as I have my mags, the map pockets can store the notebook and snacks, and I have a hydro carrier. But I am me, and have sensors, and tools, and... stuff. I tend to carry too much stuff as an admin/leader, so I put on more pouches.
But I cheat here. I use floppy pouches. My favorite is the Spec Ops X6. They make X2 and X4 also. The number is how many M4 mags they carry, and the X6 is also the size of a SAW pouch. But they have one layer of fabric, and no other structure so weigh very little, and collapse to nothing when not used.
So, I stuck two of those on the right side. The forward one is about where my old rig's right side one was, but to provide room for water bottles, or if I am a SAW gunner again, one can be the reload pouch, one the admin/utility pouch.
By default, I put... nothing in there. Not a thing. They are spare space for the way I run my rig, and everything else has a home elsewhere.
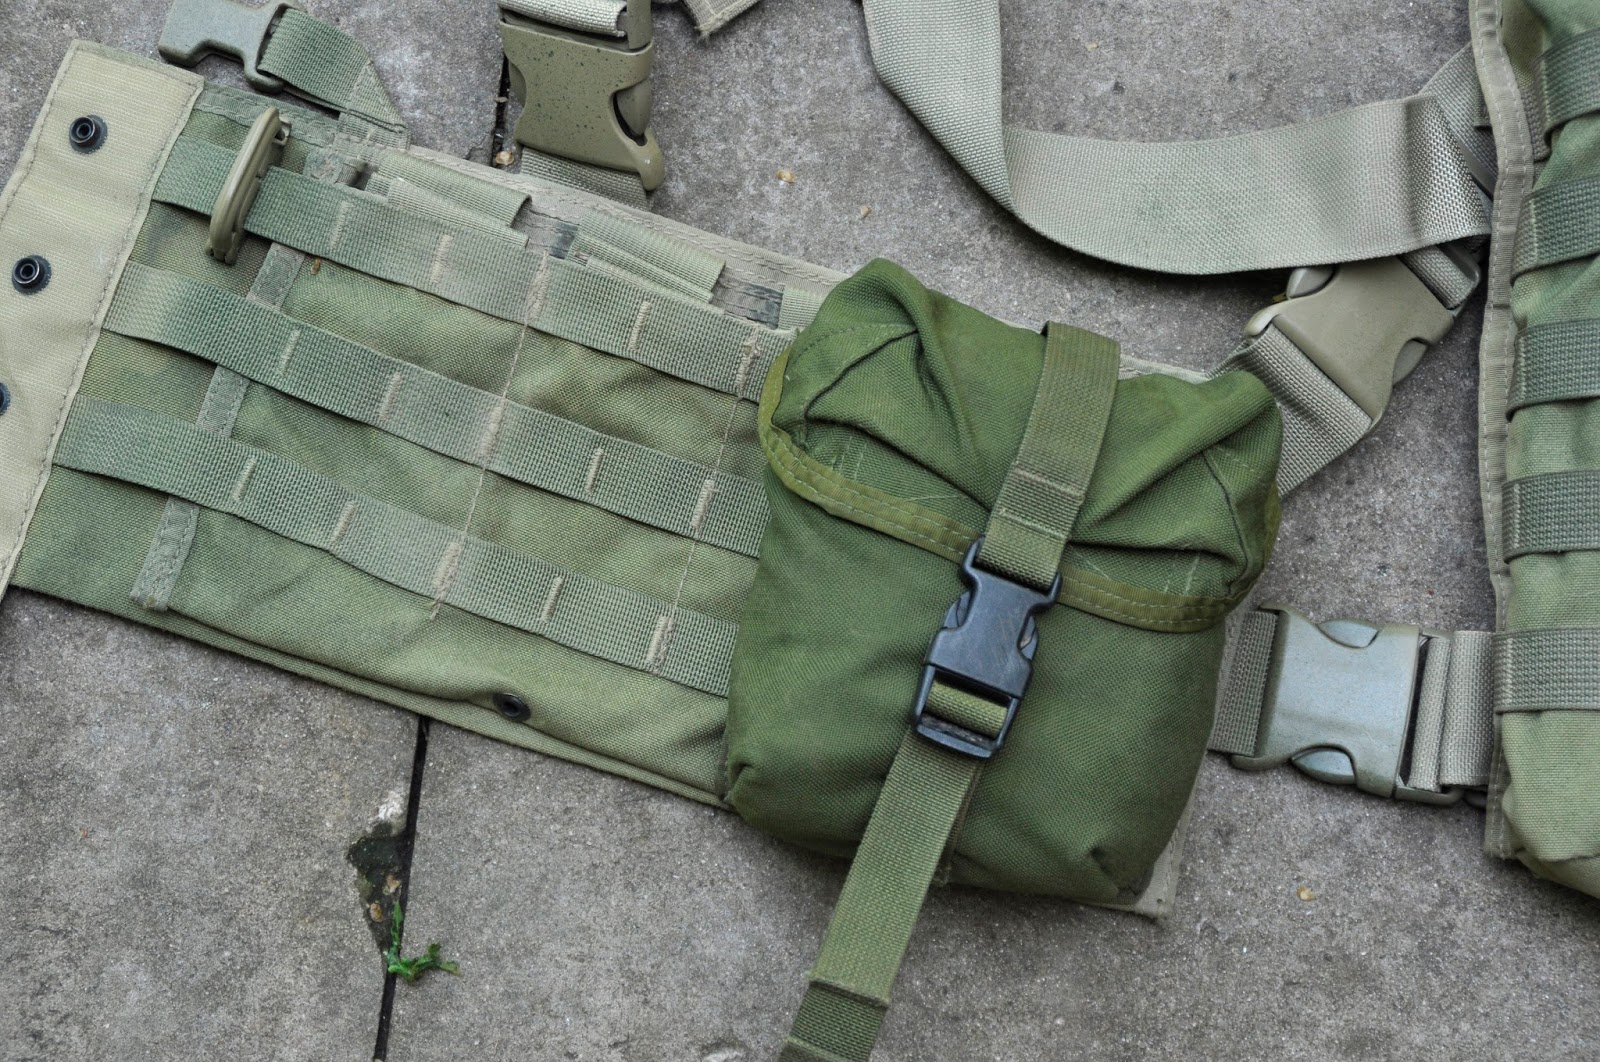
IFAK
The last thing is the IFAK. I carry a larger one than you might, but all based on actual problems we've encountere. It's not full of chest seals and spare TQs as we don't get blow up or shot. There's a TQ, Izzy and gauze, but it mostly has supplies we are likely to need like a half SAM splint, Aleve and bandaids.
I have been carrying my IFAK items in a clever quick-detach, fully-opening pouch I sewed. But I just said we don't get shot at. So, it's overbuilt, bulky, heavy and in UCP. So, I'm canning that. I have made a sort of halfassed pullout instead, using a CP Gear organizer in yet another X6 pouch. One advantage of a pullout is I'll be able to transfer it between rigs, or carry it as a general FAK when not carrying the LBV at all. I also need to get a label on the pouch.
Now if I was likely to be shot, not only would I have something easier to open, I'd also stick the CAT in a holder near the center of the rig. Why? Because you might be trying to tie off an arm; if I loose my left arm, I am not going to get anything out of the IFAK way over to the left.
Fit and Test
Now, try it on again. It won't fit as things have changed. Move stuff as needed. Then strap down the loose webbing bits.
I am not big on cutting off spare. This has yards of spare webbing as I am wearing it crazy high, but maybe I change my mind, sell it, gain lots of weight. Cutting cannot be fixed, so I prefer to loop them off and secure them.
Don't use tape. It is not permanent, and ruins the webbing anyway with adhesives. I like rubber bands.
Or more specifically, old bicycle inner tubes. Cut slices to make indestructible rubber bands. They work by tension, so arrange them near hardpoints like triglides and SRs, or just back it with a bit of plastic card so it doesn't bunch up or fold.
I also slightly re-rigged the back panel adjustment to pull-to-tighten. Basically, all LBE is designed to be fitted, then never changed. But we fluctuate in size, if only due to clothing, armor, etc. If you don't wear the LBE (or an armor vest...) fairly snug around the torso, all the weight goes to the shoulders. That's wrong.
So you need to be able to tighten and loosen while wearing. I took off the lockdown triglide and ran the extra strap for the right side through the tunnel to hang down the left side. I can reach under the IFAK to grab the strap and tighten, or reach to the right to release and loosen. Works. Not optimal, but this is all done without replacing straps or sewing, so I may do more later once I try it a bit. Example: Replace the right side SR with a Camloc so I can change adjustment without any tugging and cursing, then lock it down. Maybe something like that.
Next, I need to try this all out. Sometime, I'll find an excuse to walk around in the woods, and get time to go to the range and shoot from it as well. I will find issues, as there's no way to tell in your house or squad bay if everything worked perfectly.